easy mantua cutting
First posted by BY M D B | 2019-03-27
The art of cutting often depends on very precise measurements that have no room for errors of even finger width. This precision was best sought by taking measurements over an already dressed figure in the correct shoes. At a time when this was over much the same garment as was to be made this was a much faster process than for those of with no such garment.
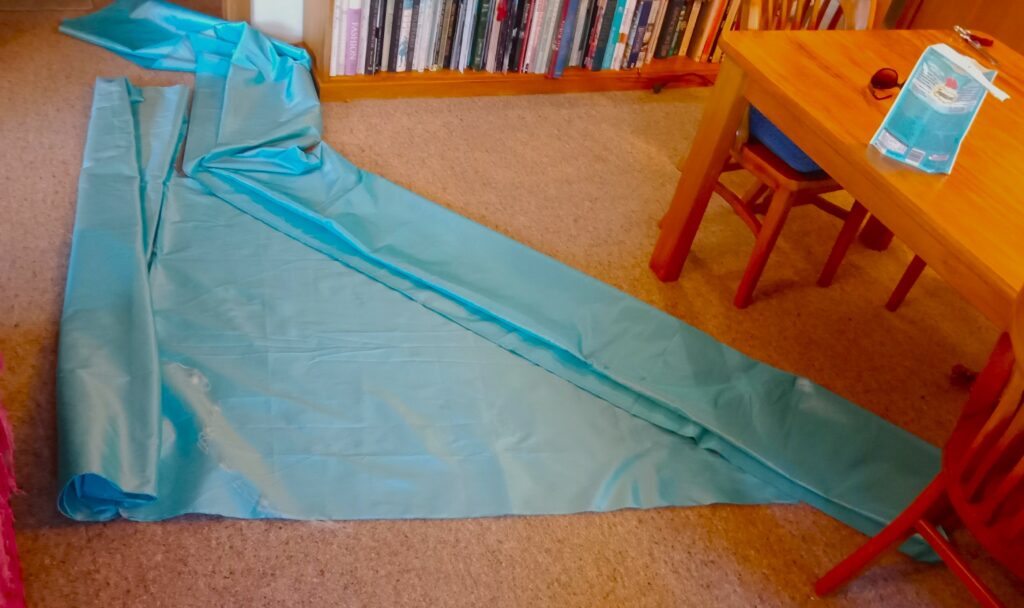
Luckily it’s easy to plan a mantua based on the front length. The front of the robe was cut from one full width of fabric as long as from my shoulder to floor plus two hand widths. One hand width is to extend the fronts over the shoulder, the other is for turning. These are very cautious amounts and may need to be trimmed back.

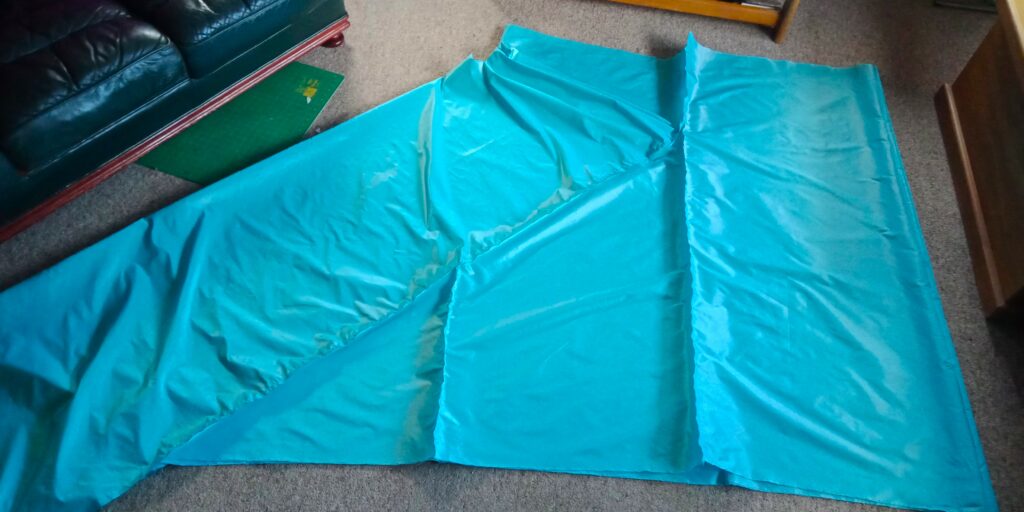
From there I laid out the rest of my fabric to mimic the back panel. I started one full width of fabric from the hem of the front, followed the angle up to the waist, then folded the fabric back so I could find the top which would make up the back.
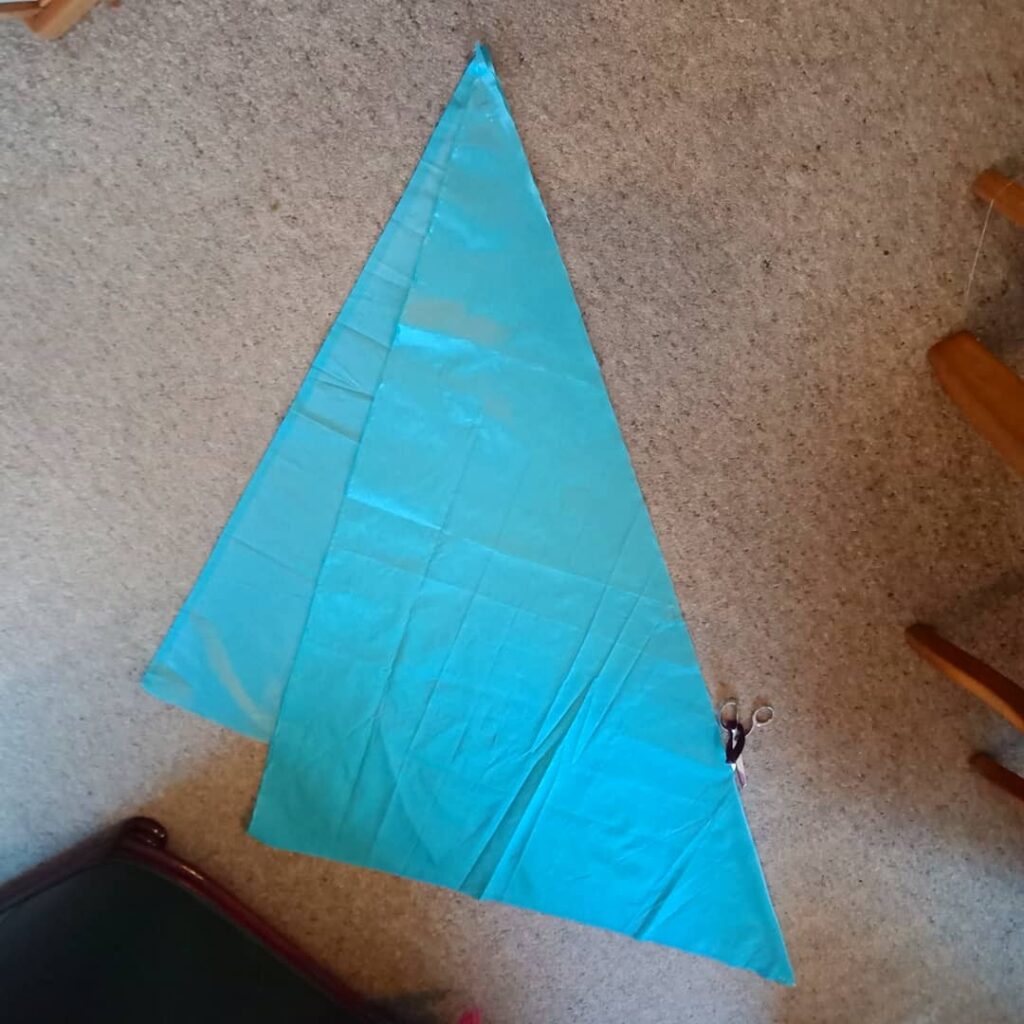
I knew I wanted my side extensions to be only one full width of fabric (so two widths of a more in era width. I cut (tore) one width from waist to floor plus a hand width for turnings. Then folded on the diagonal to form the two side extensions.


I didn’t want a very long train so I cut a curve about 3-4 hand widths after stitching the seams.

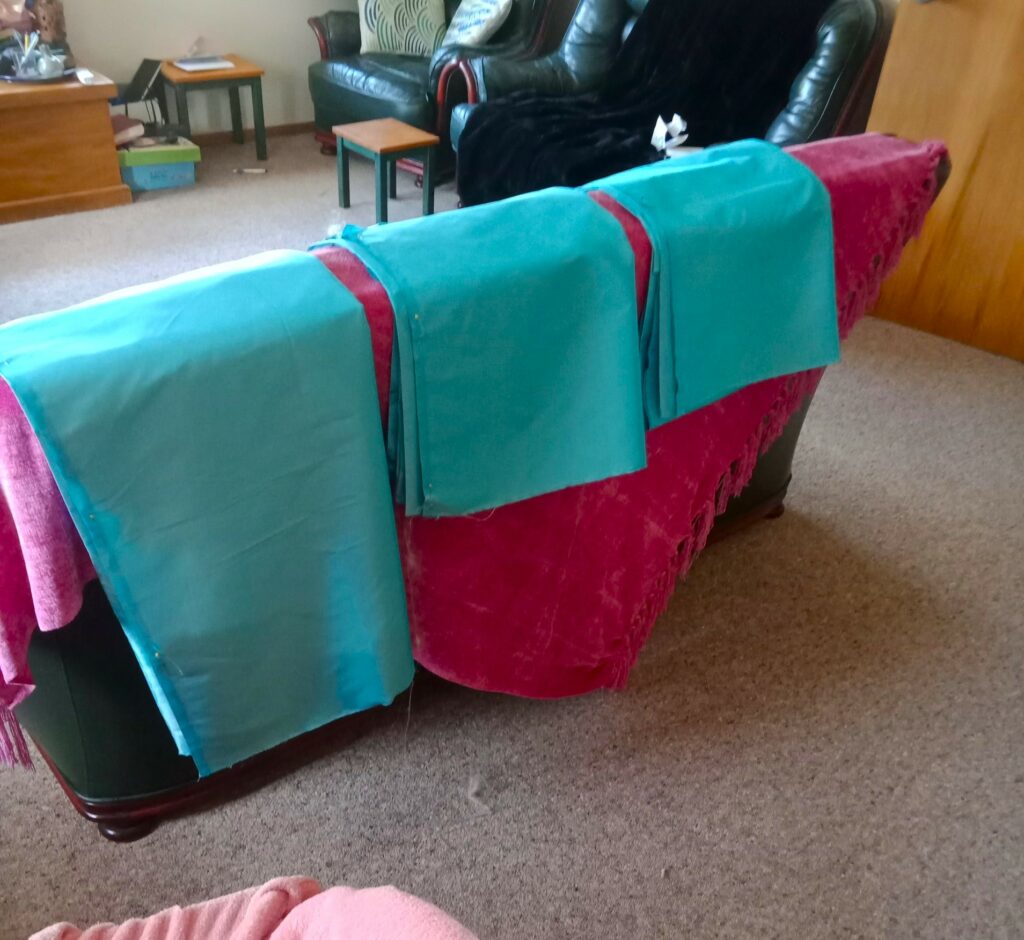
The underskirt is cut from three drops of fabric from floor to waist plus a hand width to allow for a hem as well as to turn the top edge over for the classic upturned ruffle at the tops of these skirts. As these skirts tend to be between 5-7 widths of in era fabric widths this is a bit of a compromise. I will wind up with side openings which will allow me to wear pockets underneath. The Henri Bonnart illustrations show a lot of openings for pockets.

The rest of the fabric can be used for sleeves and facings.